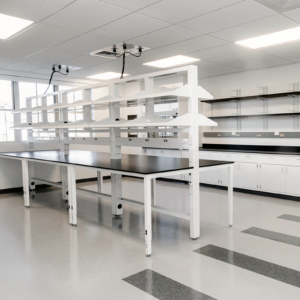
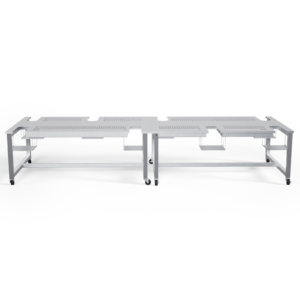
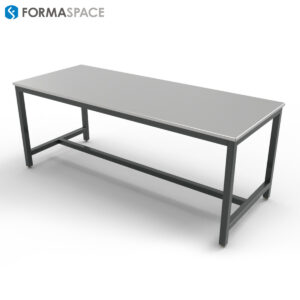
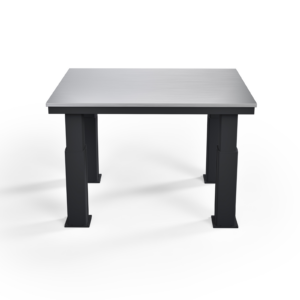
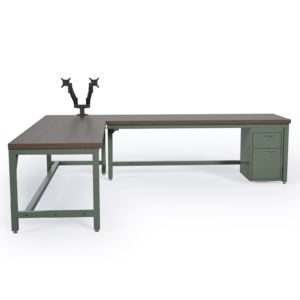
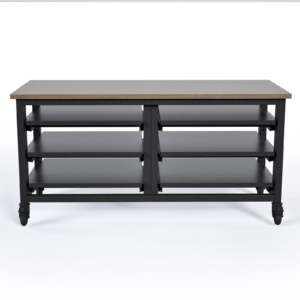
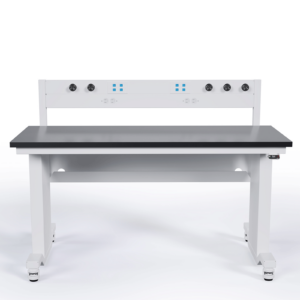
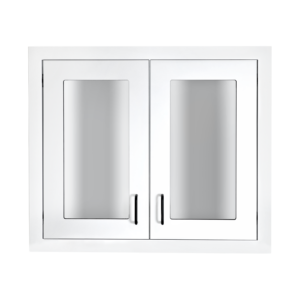
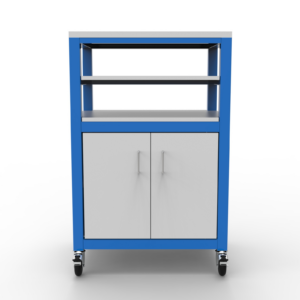
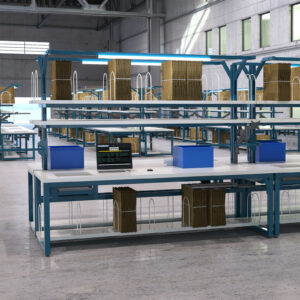
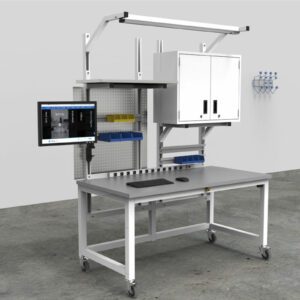
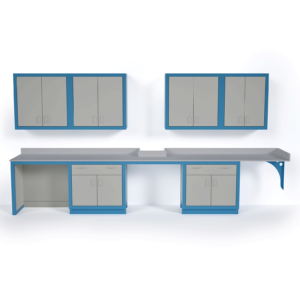
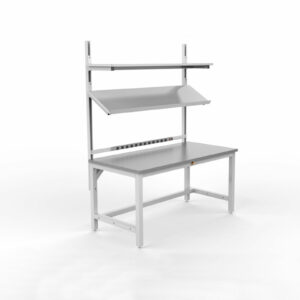
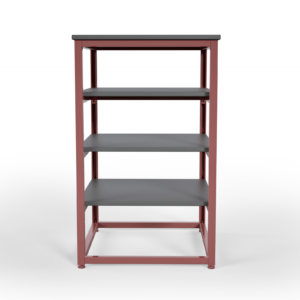
We’re pleased to introduce our free Formaspace 3D Virtual Workbench Builder. It allows you to easily design and customize workbenches online. Each time you make a material or color selection, add storage elements or select productivity-enhancing accessories, the 3DConfigure web application makes automatic photorealistic rendering updates that you can use for project approval. This eliminates the time-consuming need to order renderings when placing a custom workbench order. Best of all, the 3D Virtual Workbench Builder allows you to get free, same-business-day pricing information for individual custom workbench orders.
During NeoCon 2017, we were brainstorming on ways to streamline the custom workbench ordering process.
What if we could make it as simple as a playing a video game, we wondered. That way, we could configure all the material choices, colors, storage elements and productivity accessories online.
This approach would also cut down on errors, as well as the need to send out photorealistic renderings every time someone requested a custom workbench quote.
Now that’s a good idea we thought.

Using the 3D Virtual Workbench Builder, you’ll be able to:
- Visualize what your custom workbench order looks like in real-time without having to wait for a rendering to be sent to you. (This will save between 1 – 2 weeks, according to the industry’s average wait times for fulfilling rendering requests.)
- Generate a (self-service) quote online — with accurate pricing sent to you the same business day. (Instant online pricing will be available as part of our next update; watch for our upcoming announcement.)
Understanding the How Different Levels of Customization Affect Shipping Dates
If you can imagine it, we can build it. At Formaspace, we make it simple to order standard and custom furniture, based on your needs and preferred delivery dates.
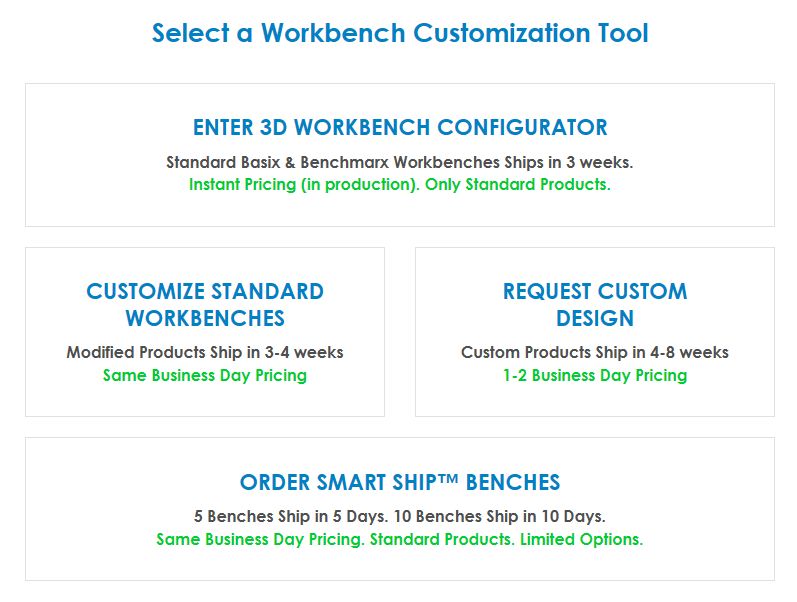
Today, we are looking in detail at our newest online configure tool, 3DConfigure (also known as the Virtual Workbench Builder). 3DConfigure allows you to visualize and order Formaspace 5.0 Basix and Benchmarx workbenches online. Your order will be ready for shipment just 3 weeks from the day you place the order.
But we also have some alternatives you should be aware of:
SmartShip™
If you need standard benches in a hurry, we can take your order today and have 5 workbenches ready to ship in just 5 business days, or 10 benches in 10 business days. Use our Smart-Ship, text-based questionnaire to place your order online.
Quote Generator
If you want to order heavily modified Formaspace workbenches, we can take your order today and have it ready to ship in 3 to 4 weeks. Use our customized, furniture questionnaire to place your order online.
Custom Design Request
If you want a fully-custom (bespoke) design that’s not available anywhere, we can build it for you in our Austin, Texas factory headquarters, either using your design specification or we can work with you to co-design your furniture project. Depending on the complexity, custom-made furniture normally takes between 4 to 8 weeks from the time you place your order until it’s ready to ship to your location.
How Does the 3D Virtual Workbench Builder Work?
First, visit the 3DConfigure web page to launch the Virtual Workplace Builder.
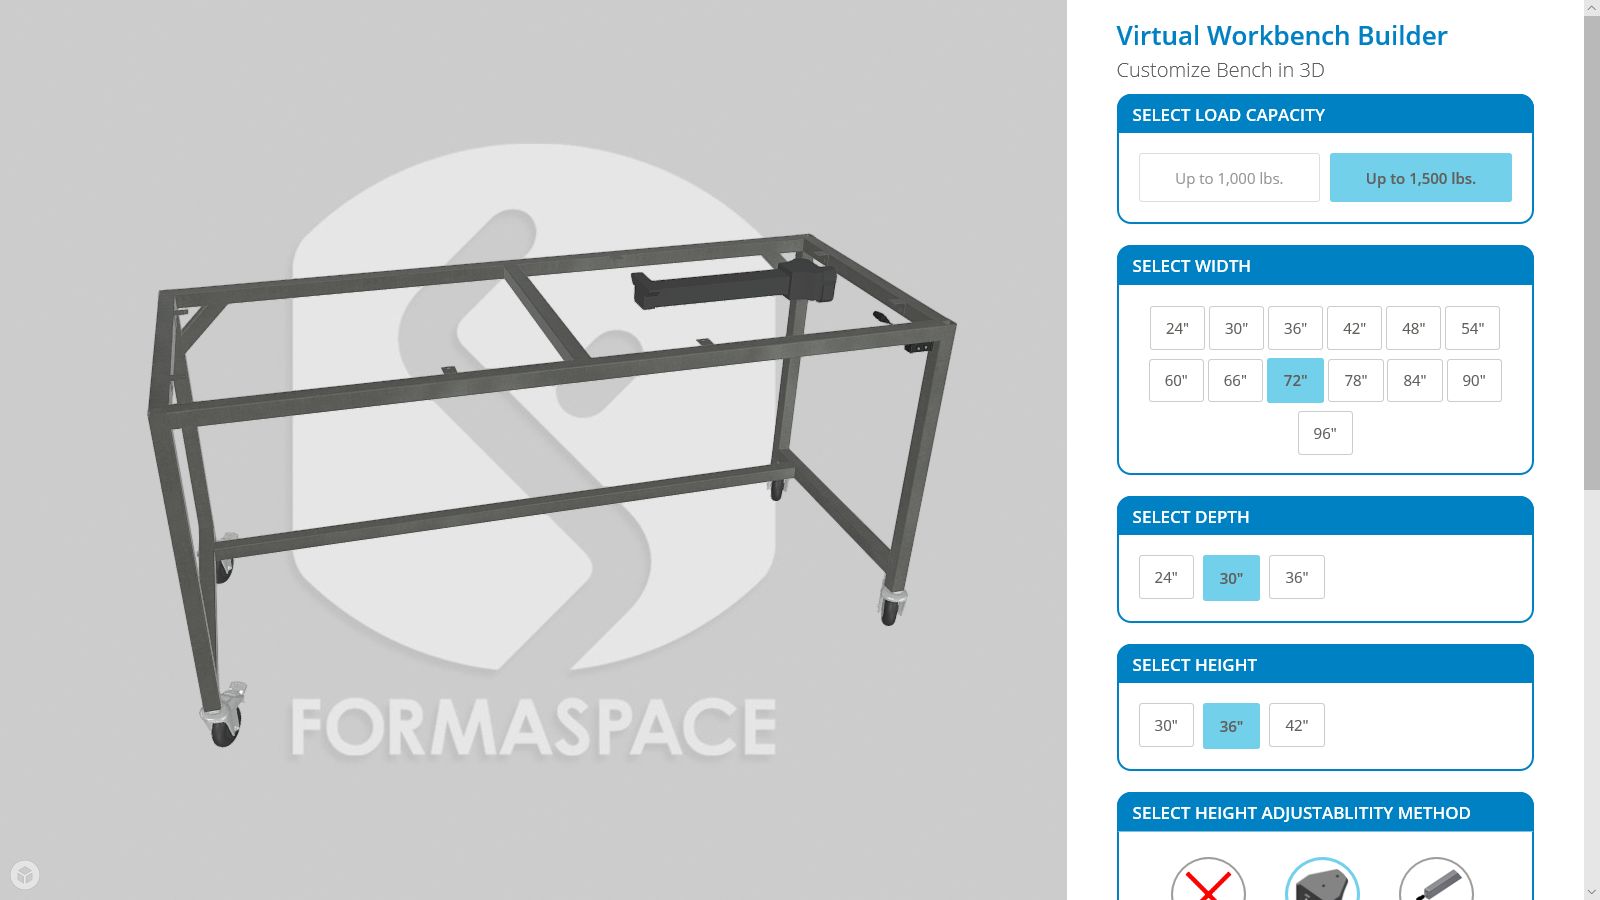
Once you see the initial rendering of a workbench frame, the browser software has loaded, and you are ready to begin (loading takes up to one or two minutes, please be patient).
If you are familiar with playing video games, you’ll find it very easy to use 3DConfigure, as it’s based on WebGL technology, which is used in many interactive browser-based games.
TIP: To test if your browser is WebGL compliant, visit this quick diagnosis page. If you are encountering a delay of over a minute when launching 3DConfigure on your computer, verify your browser can run WebGL using the link above or read our FAQ for steps to adjust your browser’s graphics settings to speed up load times.
Let’s change the view of our workbench. Here is a quick start guide to using the navigation controls:
Orbit:
Left click and slowly drag your mouse to orbit around the workbench to see it from different angles, including above and below. Release to set the view.
Zoom:
Use the mouse wheel to slowly zoom in or out.
If you don’t have a mouse wheel, press Ctrl and the left mouse button at the same time. Drag up to zoom in. Drag down to zoom out. Release to set the view.
Pan:
If the workbench is moving off-screen, you can pan the view back to the center by pressing the Shift key and the left mouse button at the same time. Slowly drag in the direction you want to pan. Release to set the view.
Lighting:
Hold down the Alt Key while pressing the left mouse key. Drag the mouse to adjust the relative position of lighting. This is useful for setting highlights on metal surfaces. Release to set the lighting position.
Now, let’s get started by customizing some workbenches!
Step 1: Choose from the Available Designs to Begin Customizing Your Workbench Order
First, you will need to enter all the preferred basic specifications of your workbench order, including:
Load Capacity of your Workbench
Choose between evenly distributed load capacities of up to 1,000 lbs (1.5” steel frame) or up to 1,500 pounds (2” steel frame).
Tip: if you choose height-adjustable (sit-to-stand) workbenches in a later step, 3DConfigure will automatically select the 1,500 lb option for you.
Width and Depth of your Work Surface
Tip: Choosing a smaller width size can limit some of your upper and lower cabinet options.
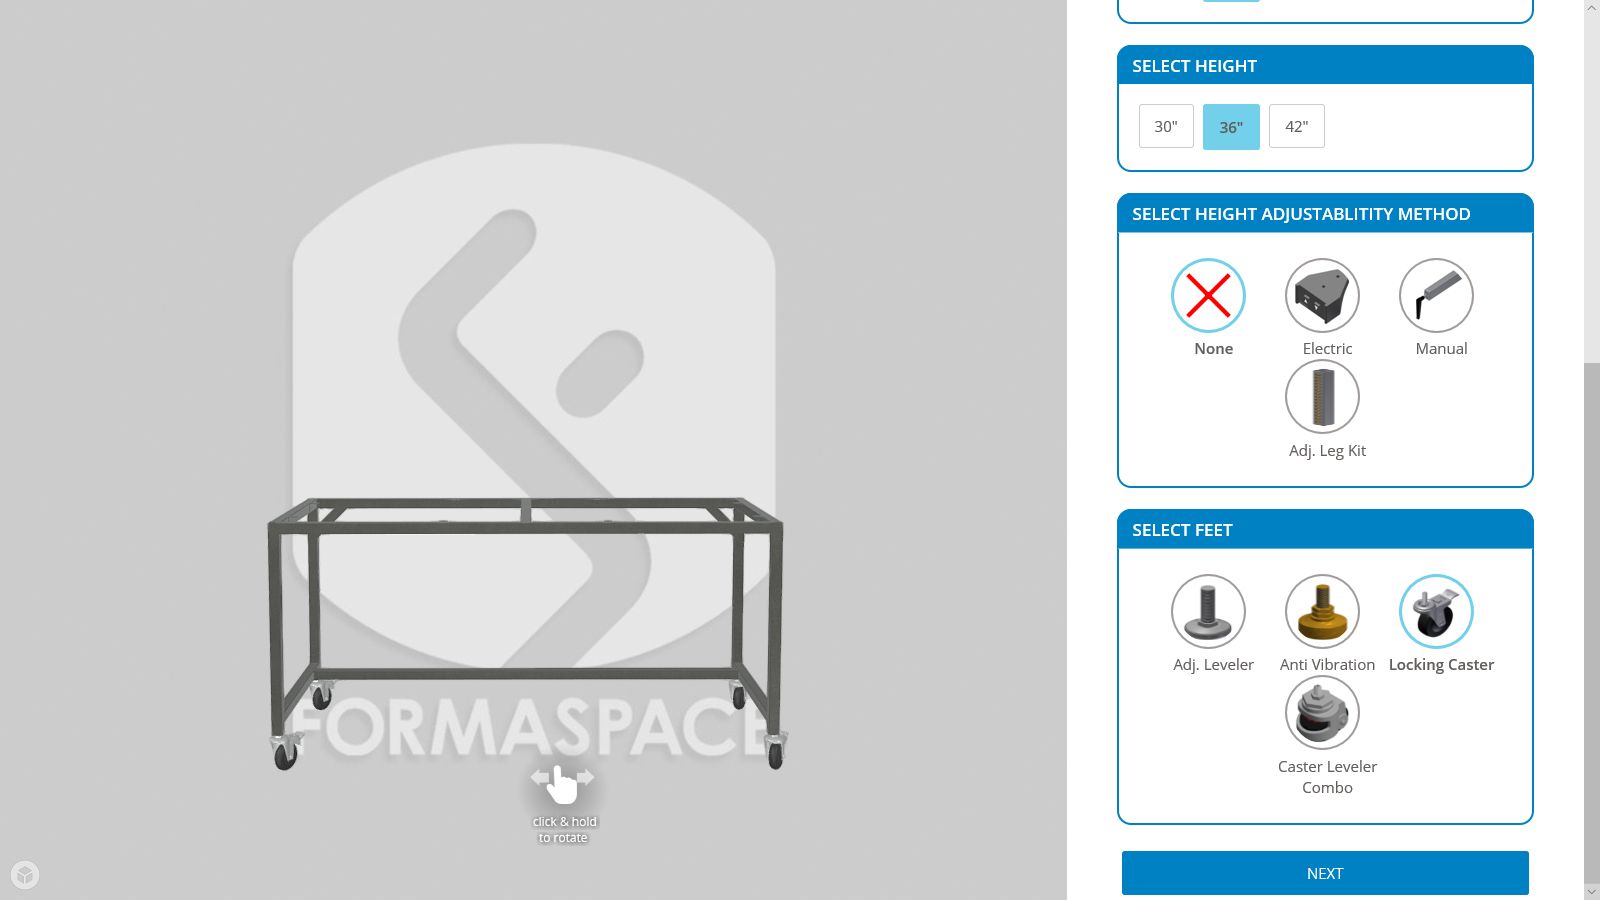
Height of your Work Surface
Choose the height of your work surface.
Tip: If you choose Adjustable Height workbenches, this is the nominal, standard height of your work surface.
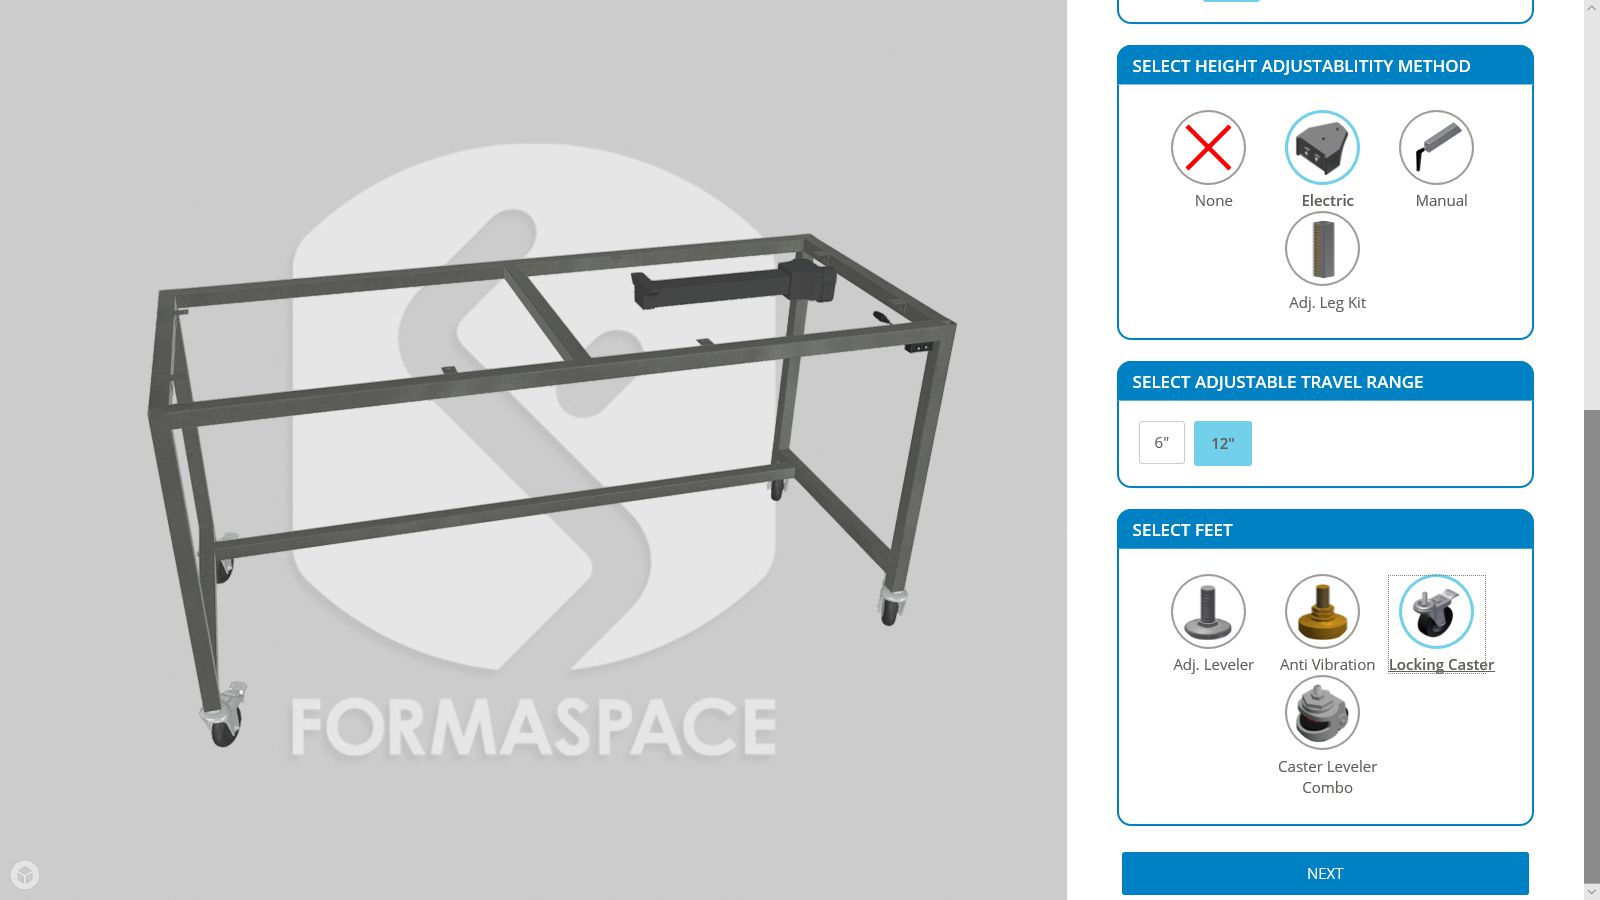
Select Adjustable-Height Options
Adjustable-height workbenches can help workers increase activity throughout the day.
There are two choices:
- Manual height adjustment by a hydraulic system operated by a hand crank (recommended for once-a-day adjustments, such as at the start of work shift).
- Electric height adjustment is operated by electric motors; this allows the height to be set at the touch of a button. This is recommended for sit-to-stand applications where the work surface height is moved up and down throughout the day.
Tip: If you choose either the electric or hand-crank height adjustment options, you can specify drawers under the work surface in a later step, but you won’t be presented with choices of lower cabinet cubbies or cabinet combo storage options (due to space limitations).
The third choice, Adjustable Leg Kit, is for long-term height adjustment settings. It allows you to use hand tools to set the height of the work surface, such as during installation or when making renovations.
If you choose height-adjustable workbenches, you will also be asked for the travel range.
Select Workbench Foot Options
Here you can indicate whether your workbenches will be mobile (e.g. move around on casters) or will be fixed in place. Your available options are:
- Adjustable leveler (fixed)
- Anti-vibration (fixed)
- Locking caster (mobile)
- Caster leveler combination (mobile)
Step 2: Enter the Work Surface Material as Well as Preferred Finish and Color
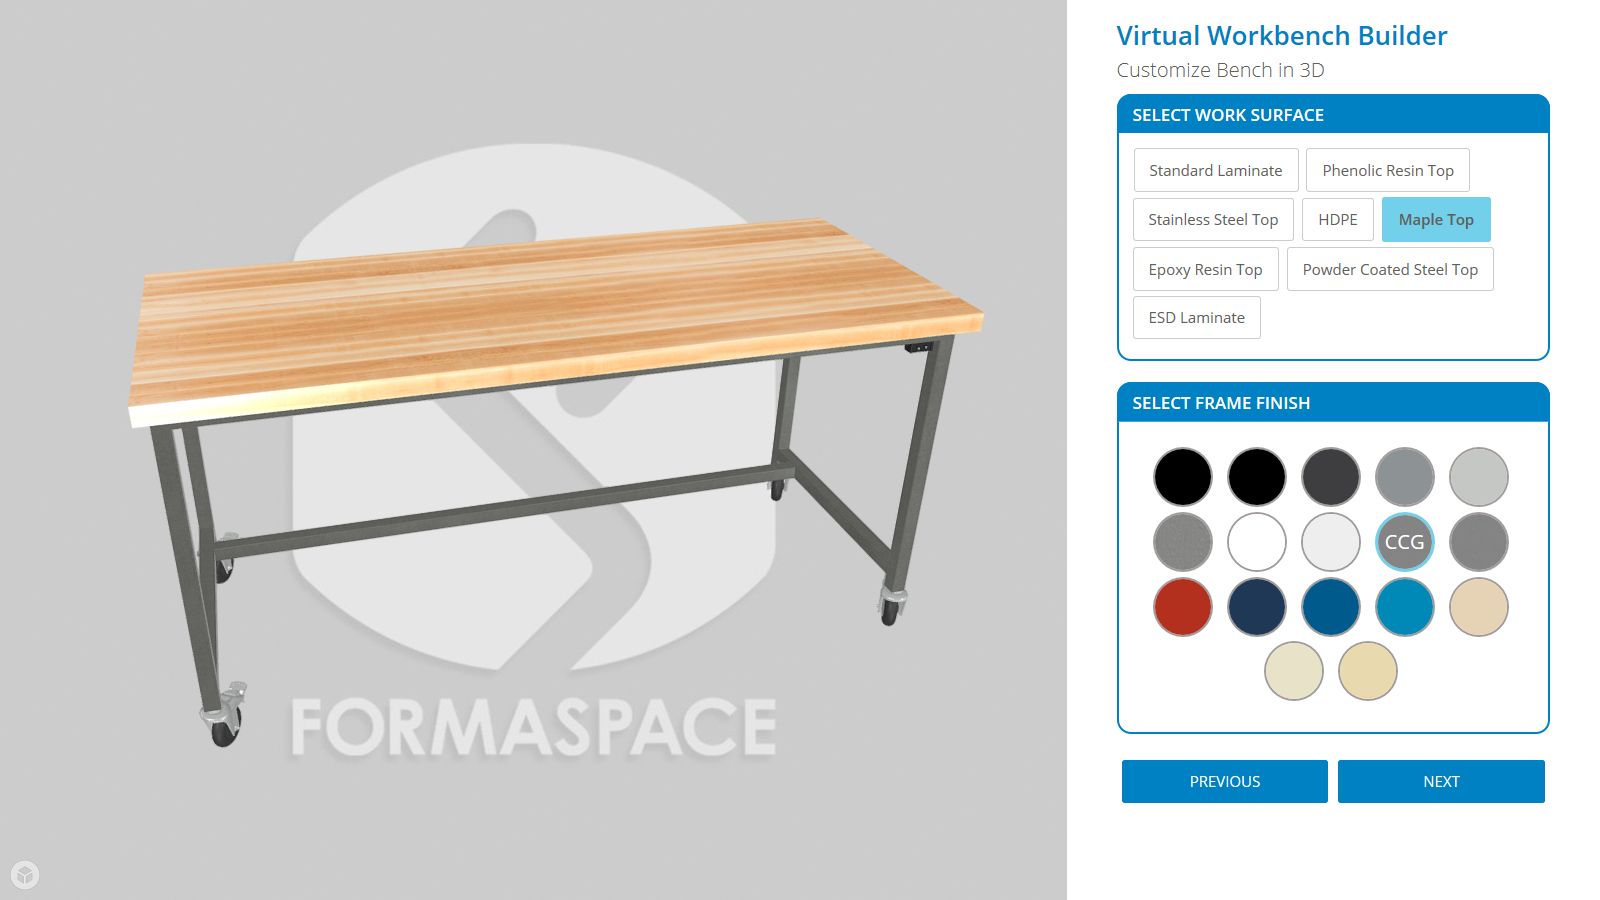
Select Work Surface Material
In this step, start by choosing your preferred work surface material.
Tip: Check out our guide to keeping these countertop materials looking like new.
If you choose the ESD Laminate surface material (designed for preventing accidental shocks to sensitive electronic components during maintenance or assembly), you will also be presented with an option to order an ESD kit (and specify its color as well).
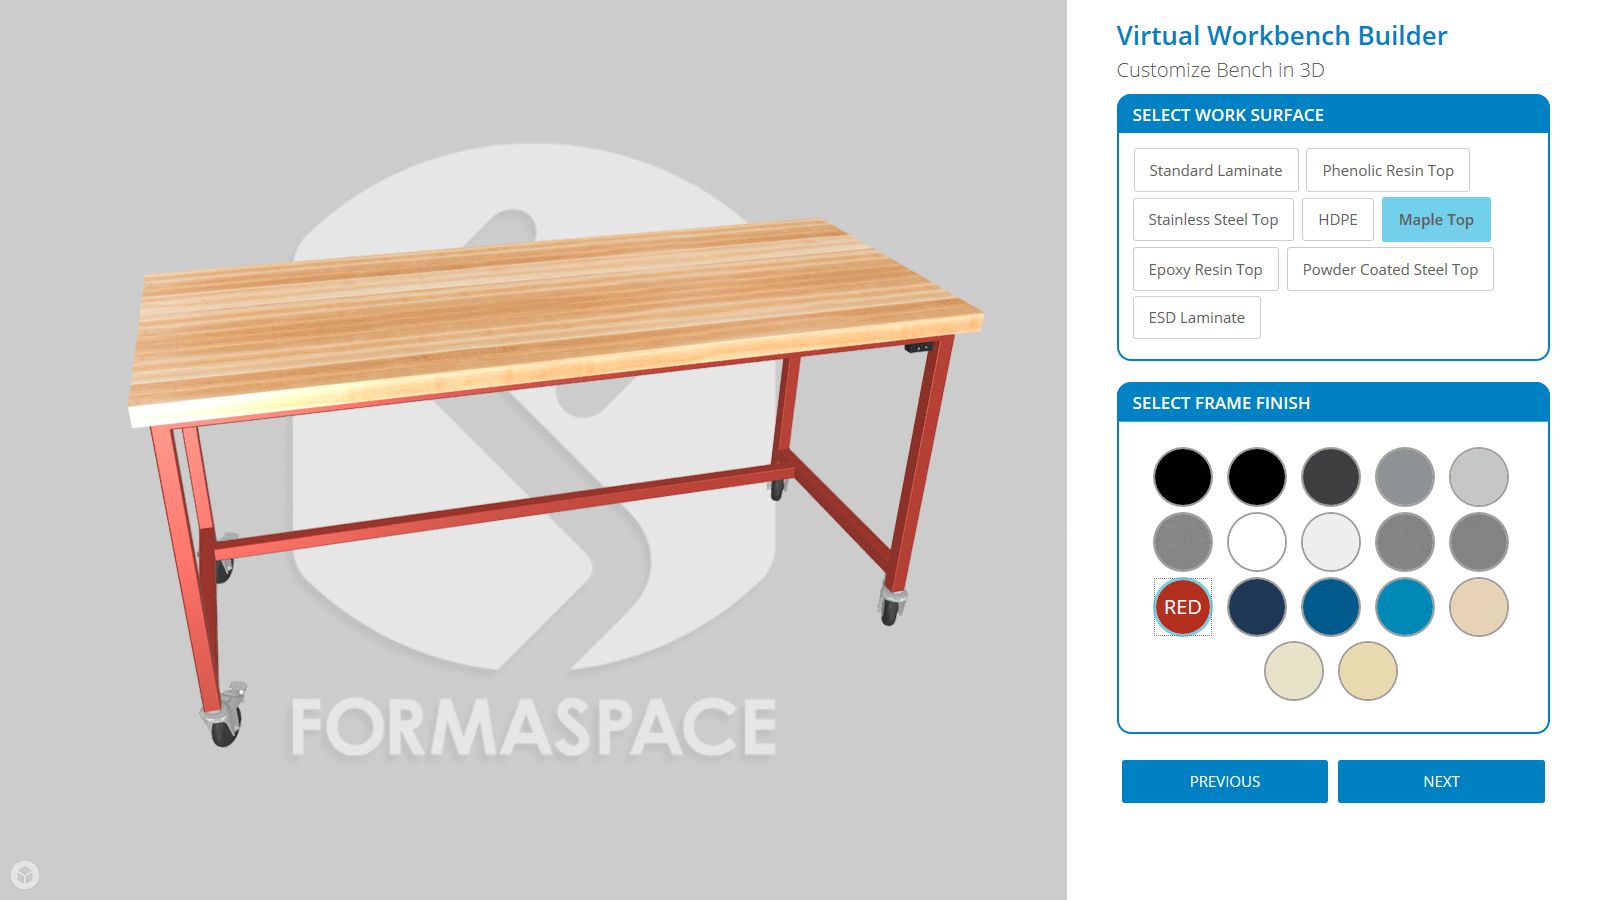
Choose Frame Powder Coat Finish and Color Combination
Choose a frame powder coat finish and color combination by clicking on the color icons. If you roll over the icons, tool tips will appear with the full name of the color and finish.
Click on any color choice and the main rendering will update to show you the result.
Step 3: Choose Optional Storage Elements Underneath the Work Surface to Take Your Workbenches to the Next Level
Once you’ve specified the work surface material, frame finish, and color combination, you can choose shelving and storage options for above and below the work surface.
First, let’s look at the lower shelving options.
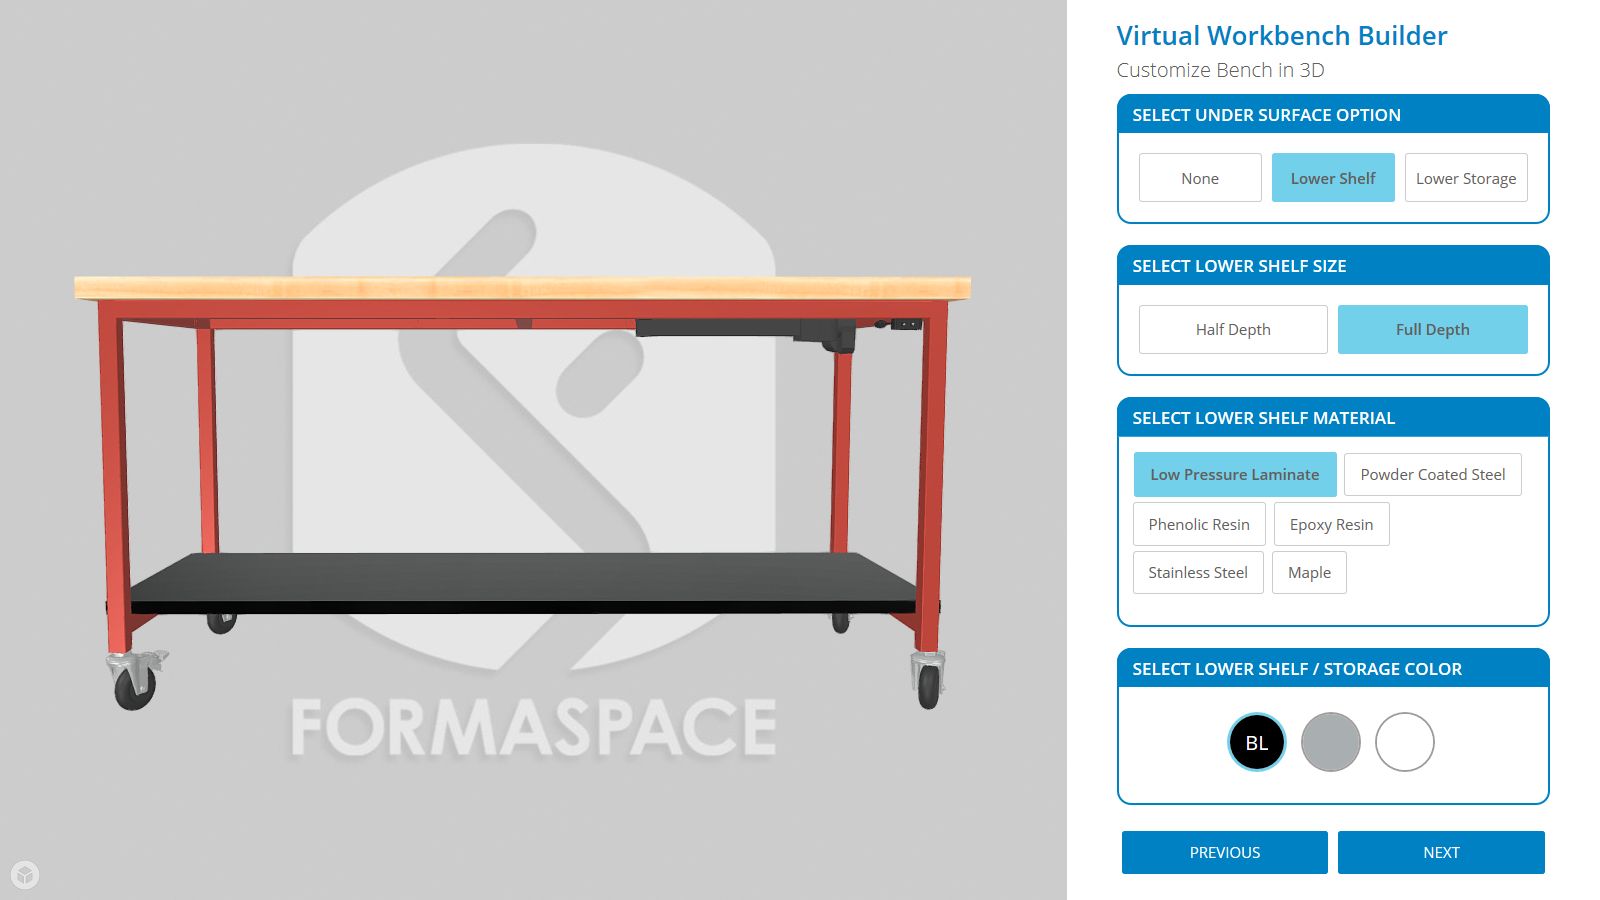
Lower Shelving Options (Below the work surface)
Here you have the choice of:
- Lower Shelf Size
Choose either half depth or full depth.
- Lower Shelf Material
Here you can specify what the shelf is made of. Choose from Low Pressure Laminate, Powder Coated Steel, Phenolic Resin, Epoxy Resin, Stainless Steel, or solid Maple.
- Lower Shelf Color
If you choose Low Pressure Laminate, Phenolic Resin, or Epoxy Resin, you will also be presented with a color choice for the shelving.
Tip: If you choose powder-coated steel shelves, the color will be adjusted automatically to match your frame color selection.
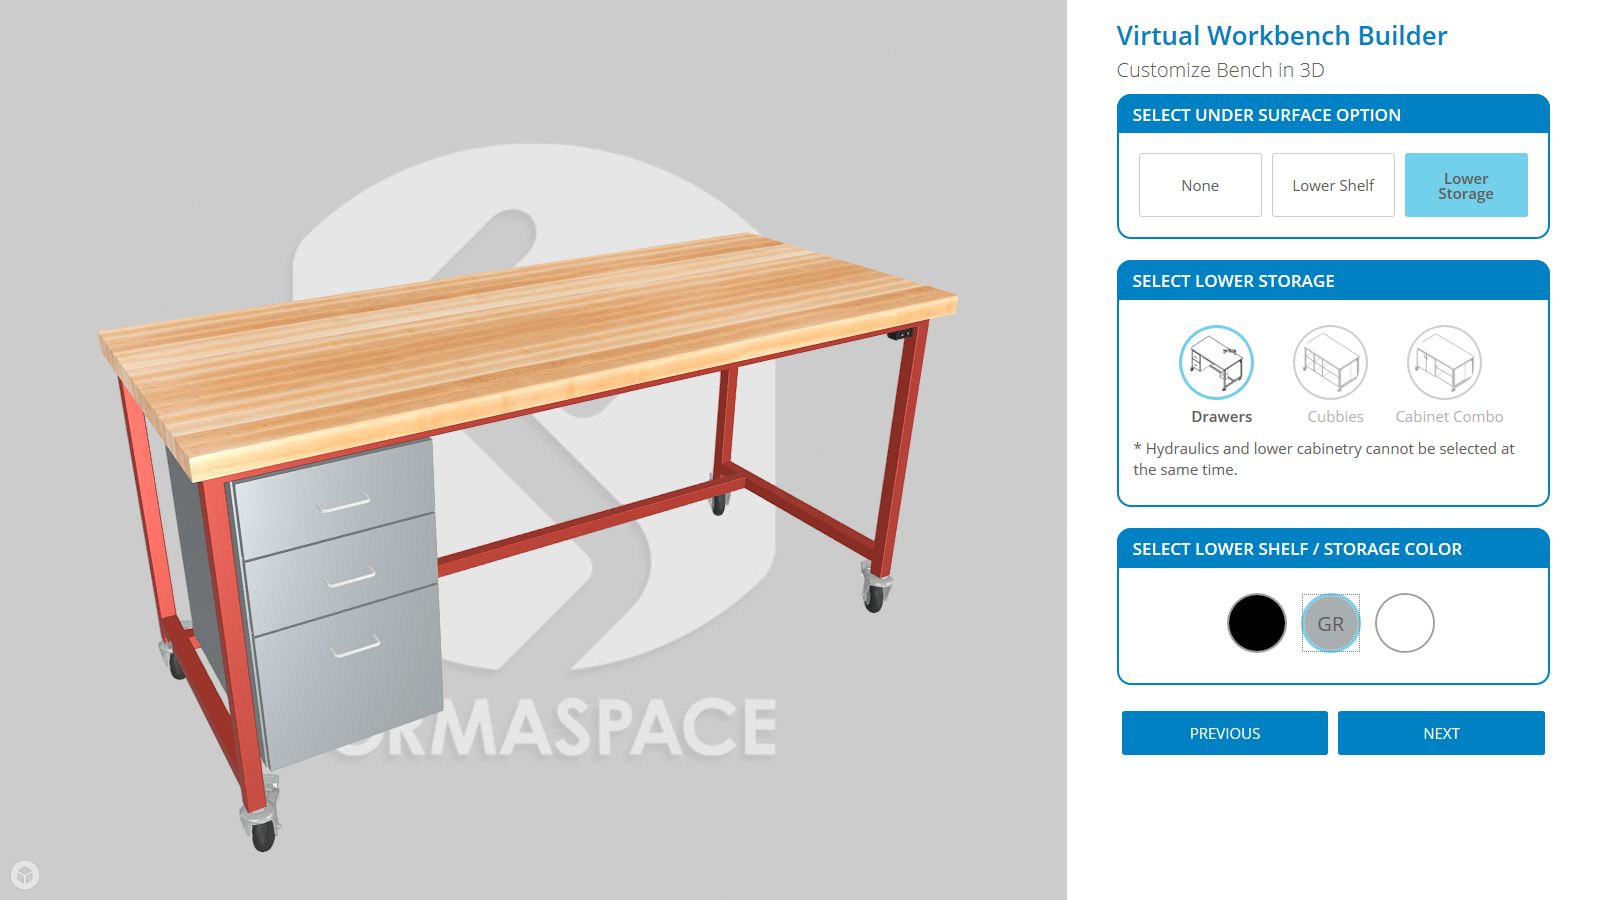
Lower Storage Options (Below work surface)
If you prefer lower storage (instead of shelves), click on that choice at the top of the screen.
Choose your Lower Storage Options
Indicate your preference for either:
- Set of three drawers
- Cubbies (open shelving areas enclosed at the sides plus two shelves)
- Cabinet combo (an enclosed cabinet plus two shelves)
Tip: If you chose the electric-hydraulic height adjustment options earlier, you can specify drawers under the work surface, but you won’t be presented with choices for lower cabinet cubbies or cabinet combo storage (due to space limitations).
Select Lower Storage Color Option
Specify your preferred color for the lower storage components.
Step 4: Choosing Optional Shelving or Storage Elements Mounted Above the Work Surface
Now it’s time to select optional shelving or storage elements for above the work surface.
We’ll look at the upper shelving options first.
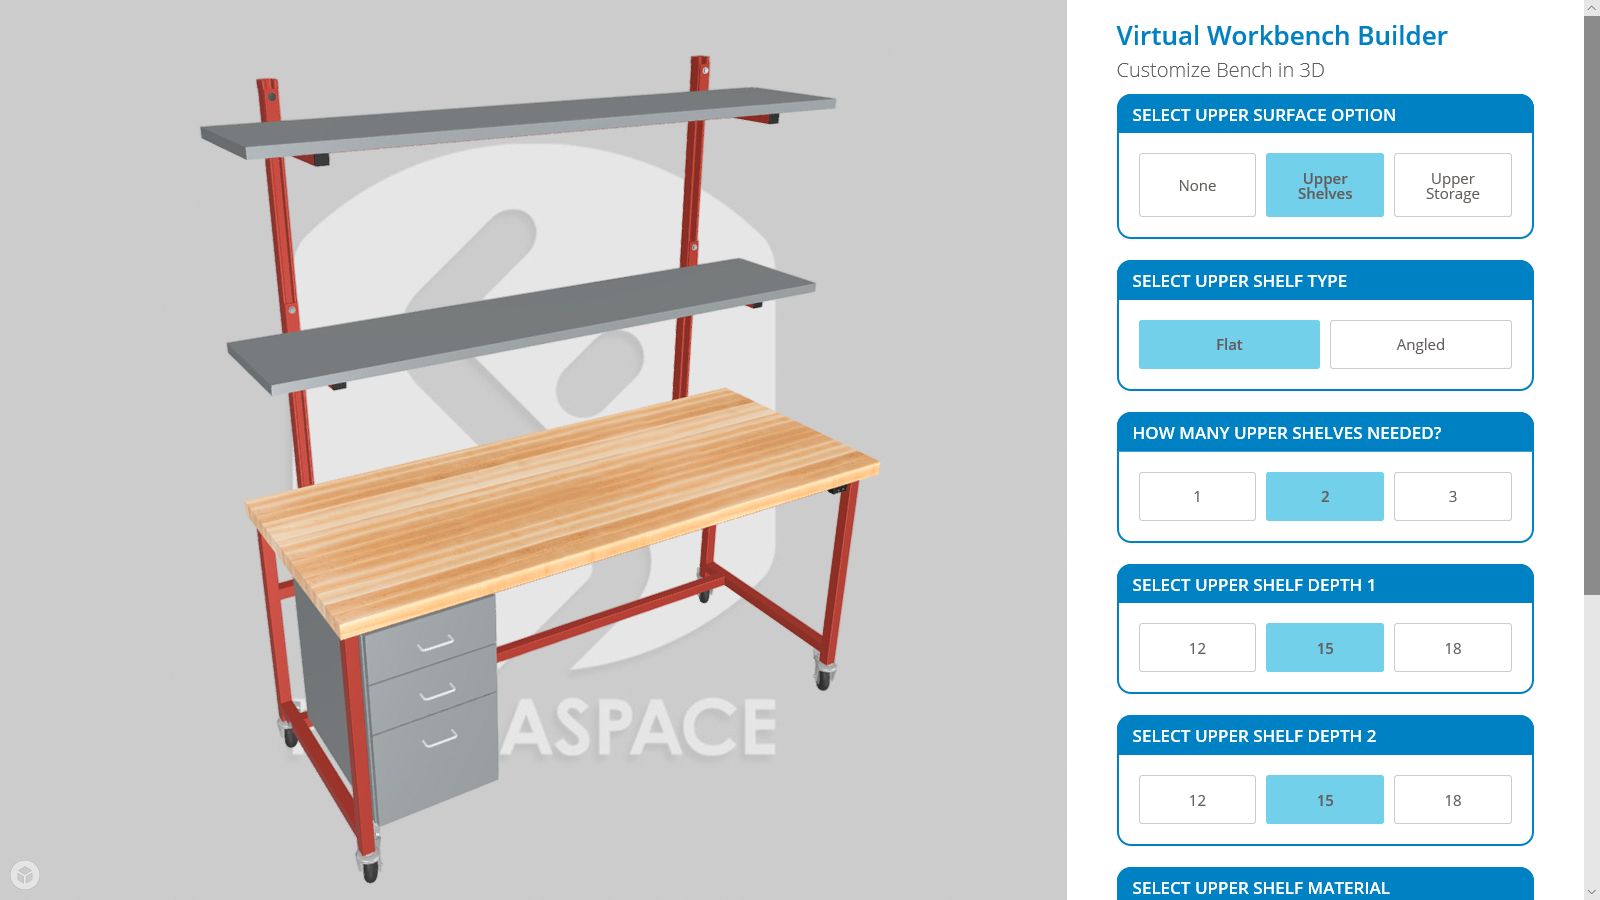
Upper Shelving (Above the work surface)
Upper Shelf Type (Flat or Angled)
Choose angled shelves or flat shelves (e.g. parallel to work surface).
Number of Upper Shelves
Choose between up to 2 angled shelves or up to 3 flat shelves.
Upper Shelf Depth
You can set the depth of each shelf independently: the options are 12, 15 or 18” deep.
Upper Shelf Material
Choose what material the shelf is made of. Your options are Low Pressure Laminate, Powder Coated Steel, Phenolic Resin, Stainless Steel, Epoxy Resin, or solid Maple.
Upper Shelf Color
If you choose Low Pressure Laminate, Phenolic Resin, or Epoxy Resin, you will also be presented with a color choice for the shelving. The other materials have natural finishes.
Tip: If you choose powder-coated steel shelves, the color will be adjusted automatically to match your frame color selection.
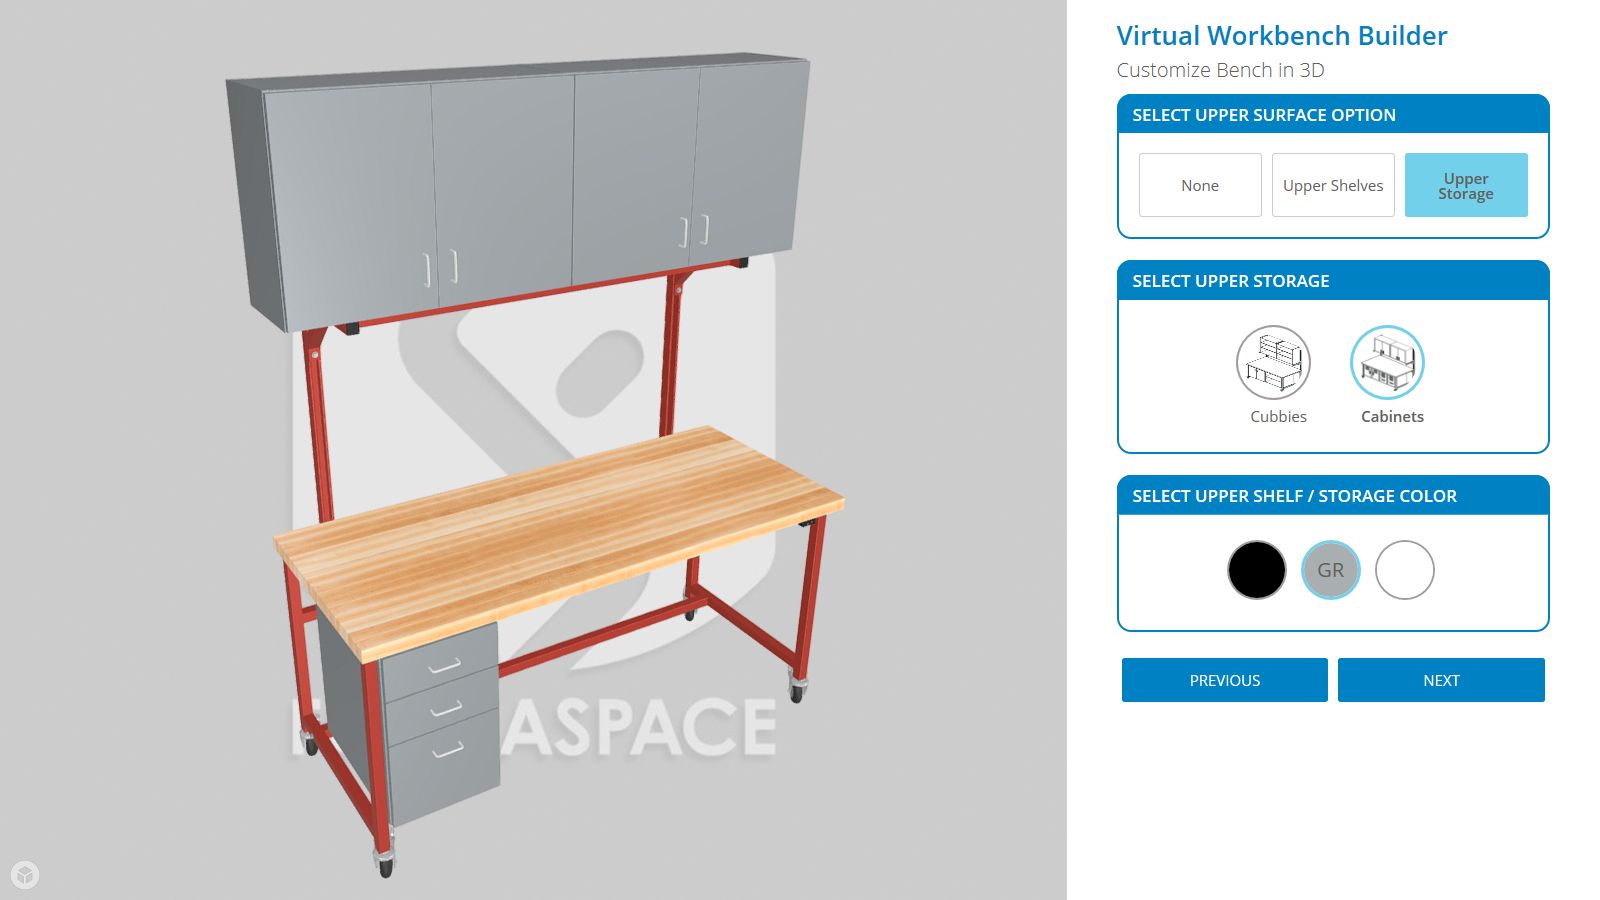
Upper Storage (Above the work surface)
If you want to add upper storage, click on the button at the top of the screen. Then you can set your preferred options.
Choose your Upper Storage Options
Indicate your preference for either:
- Cubbies (open shelving areas enclosed at the sides)
- Two side-by-side cabinets
Select Upper Storage Color Options
Specify your preferred color for the upper storage components.
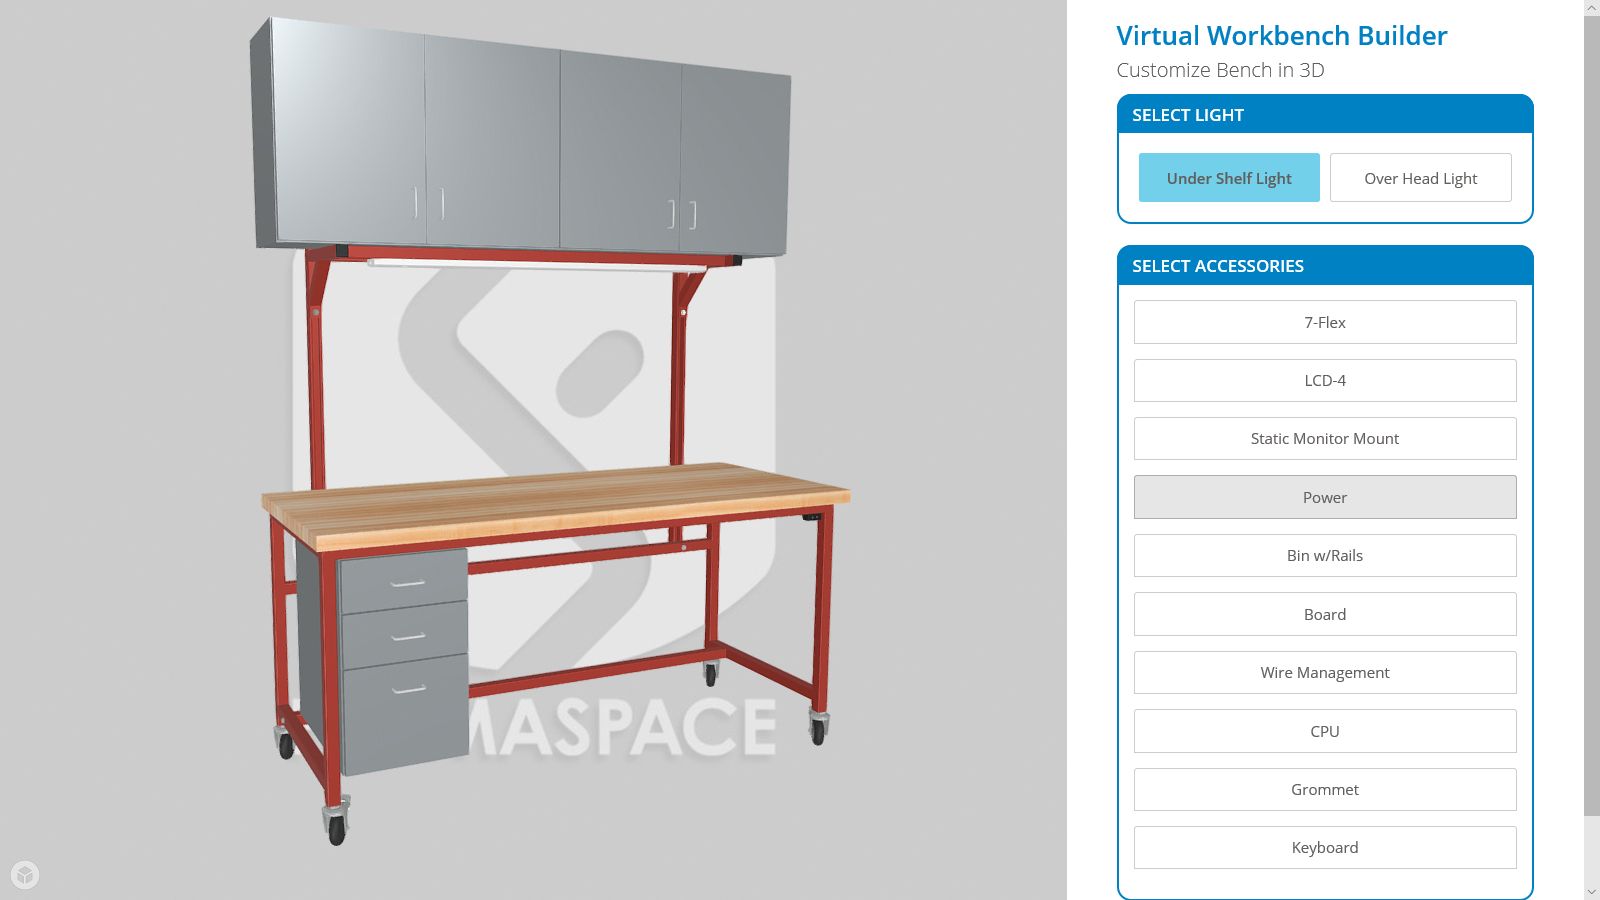
Choose Built-In Lighting Options
You have a choice of two built-in lighting options:
- Undershelf light(Note: this choice is available only if you choose upper shelves or cabinets.)
- Overhead light
Choose Computer Monitor Mount Options
There are three choices for mounting monitors:
- 7-Flex offers the greatest range of motion, allowing you to position your monitor at any angle. You can select up or down mounting configurations. Choose up to two 7-Flex monitors per workstation.
- LCD-4 monitor mount offers basic up/down tilt and left/right swing adjustments. Select up to two LCD-4 monitor mounts per workstation.
- Static Monitor Mounts adds a crossbar mounted at the back of the frame (located between the work surface and the optional upper shelving) with two or three monitor attachment points (depending on your selected work surface width.
Accessory and Productivity Options
Choose from the following accessory convenience and productivity options:
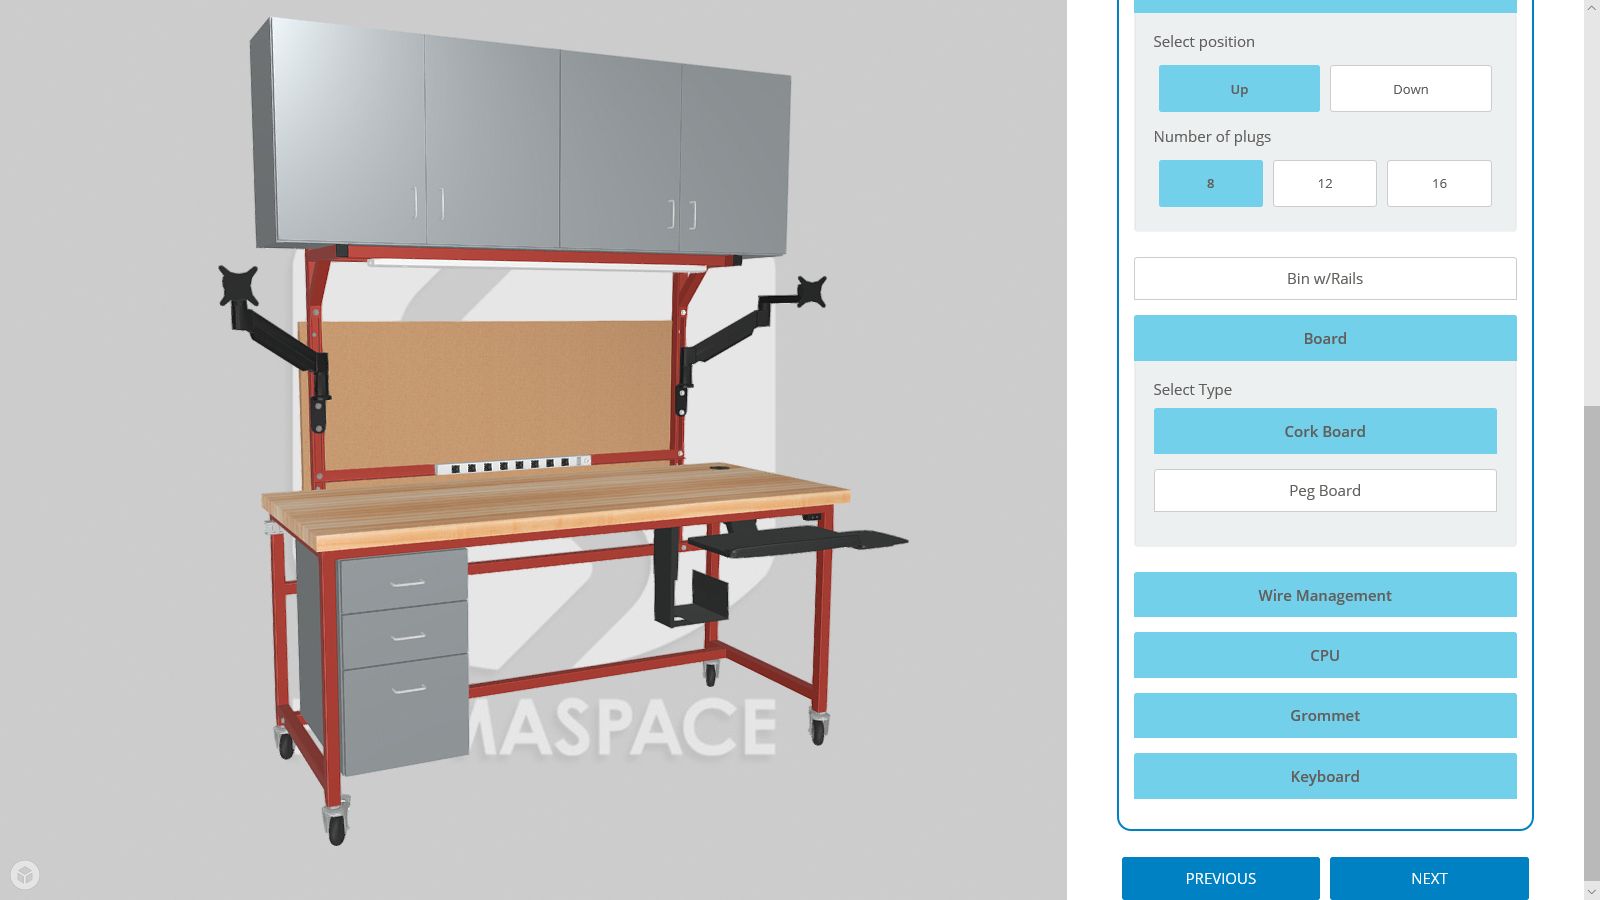
- The Power option adds a convenient integrated multi-outlet power strip mounted on crossbar at the back, just above the work surface.
- The Bin with Rails option adds a crossbar mounted on the back frame that holds a series of individual bins, which are ideal for storing small items.
- The Board option adds either a cork or peg board (your choice) mounted in the back between the work surface and any upper storage elements.
- The Wire Management option keeps your power cables secure, organized, and out of the way.
- The CPU option is an under workspace mount that allows you to securely mount your desktop computer case to the workstation.
- The Grommet option adds a pre-drilled hole through the work surface with a black plastic escutcheon plate to protect wires connected to items on the work surface.
- The Keyboard option adds an under work surface shelf for your keyboard with additional space to operate a computer mouse.
After making your accessory choices, click Next.
Step 6: Completing Your Order and Requesting Your Price Quote
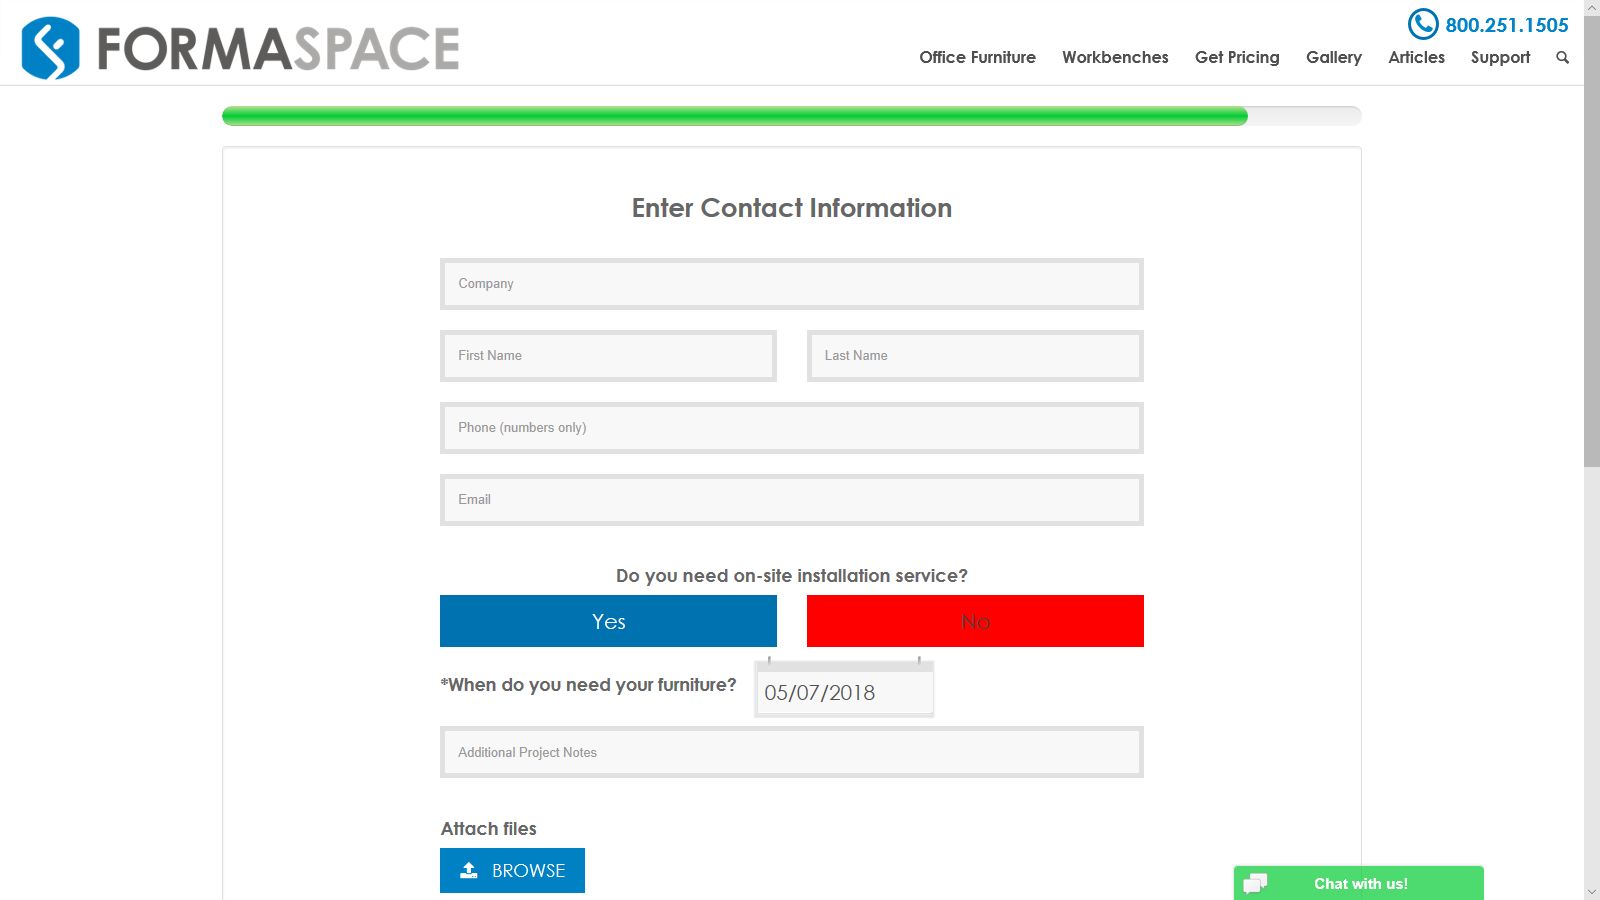
Now that you’ve specified your workbench design, we need to get your contact information so we can send you the pricing information.
To save you time, we will attempt to fill out your address based on your browser location. Use Edit Address to make any corrections.
If you need installation services, click YES.
Next, provide additional details about your project, including the date you need it to be shipped from the Formaspace factory.
(TIP: you cannot choose a date less than three weeks from the day you place your order.)
If you have project-specific notes, please add them into the box provided. Or, if you want to send us a picture, project files, or other documents, use the BROWSE button to select your files for uploading.
Double check your contact information, and then click on the “Send for Pricing” button.
If today is a business day, you can expect the response later today; otherwise, it will be sent the next business day — either via telephone or email.
Shipping and optional installation costs are not included in the initial quote and will be calculated for your approval once you place your final order.
(NOTE: In a future version, we plan to have the MSRP pricing information available online. Look for this update soon. For now, please submit your contact information, and we will send you the quote via email or telephone.)
Formaspace Stands Alone in Offering a 3D Virtual Workbench Builder
Formaspace’s new 3D Virtual Workbench Builder allows you to get free, same-day, online quotes of our different lines of custom workbenches.

We hope you find the new 3DConfigure web application useful.
Give it a try today.
Remember, all our Formaspace workbenches are made to the highest industrial grade standards, backed by a no-questions-asked 12-year guarantee – even if you use the furniture three shifts a day. Each piece of Formaspace furniture is made by skilled craftsmen and women in our Austin, Texas factory headquarters using American steel and components.
To learn more or to get answers to any questions, contact your Friendly Formaspace Design Consultant today. They’ll be happy to share their expertise with you and make your workbench project a success.


